Accessing from within Office 365
- Log into Office 365 by clicking the Office 365 tile from your tile home page.

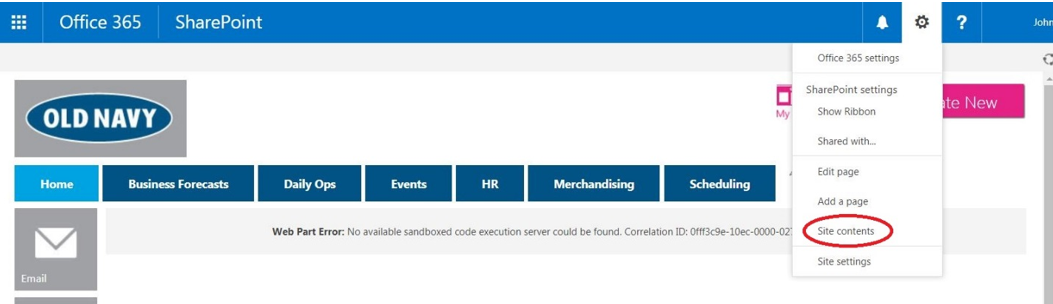
- Once Office 365 loads to the page below, click the gear/cog icon located in the upper right hand corner|

- Click on Site Contents from the drop down.

- Click on Documents.

- This is the page where all your files should be located.
- To organize the files from recent to old right click the Created tab.

- Click on Descending.

- You will now see that your files should be organized accordingly.

- You will now see that your files should be organized accordingly.
- To upload files in Office 365 simply drag and drop the file from your desktop/file location to the Office 365 documents page (this is the page that is in the above screenshot) and you will see the file upload.


This information is also available on the Store Support Website Doc#28756